This has been a busy summer so far! Not only have I been working a job on campus and working on my dissertation, but Justin and I have had lots of projects going on at home. We repainted a shelf for our bathroom, painted a tabletop for my desk, and sanded and repainted all of our bedroom furniture (see a post on that
here). This past week, we decided to work on restoring some of our cherished antiques.
We have lots of antiques, and most of them were given to us by family and friends (to see a post on all of my typewriters, click
here). My favorite piece is definitely the 1940s Philco radio phonograph that my great grandfather gave to me about four years ago. Justin and I had just moved to Ohio and he had to go back to Indiana for one of his grad school classes. I went with him to Indiana and he dropped me off at my parents' house so I could spend the day with my dad at my great grandfather's house. He was 94 at the time, and we had a wonderful day spending time with him and helping him around the house. My dad told him I love antiques, and my grandpa told me to go look around in the attic to see if there was anything I might want. I found so many cool things, including boxes of old cameras, records, vintage suitcases...and this 1948 Philco radio phonograph. When I asked him about it, he told me that him and my great grandmother had purchased the radio brand new and that he had had it for over sixty years, and that he wanted me to have it! My dad and I managed to get the radio out of the attic and into the car, but it was in rough shape.
It had been in my grandpa's non-temperature-controlled attic for many years, so it endured lots of extreme cold and heat. It also needed a deep clean. My dad and I took it back to my parents' house and spent the afternoon cleaning it and polishing it. It looked completely different by the time we were done.

The plug needed to be replaced, so my dad and I couldn't turn it on. When I got it home, Justin and I replaced the broken plug and tried it out - of course, it didn't work. I began doing some research about how to fix old radios, found a schematic online of the inside of the Philco model I had (we later realized there was a schematic on the inside of the radio that we didn't know was there), and found a website that sold the vacuum tubes I needed. We ordered them, installed them, and the radio worked! We were so happy, although the radio only picks up AM stations, so there wasn't much to listen to. We decided to try fixing the record player next, but that journey ended up being a three-year saga of disappointment.
With the record player, it turned on and the record would spin, but we couldn't hear any noise. Justin replaced the capacitors and resistors, but it still didn't work. He thought that the arm for the record player was the problem, but we found out that the part we needed to fix the arm didn't exist anymore. We were disappointed, but I still loved that the radio component worked. My grandpa passed away about a year after giving the radio to me, so I loved being able to have a piece of him in my home that I could see everyday (and share with guests when they come over).
A couple weekends ago, my husband and I were camping with friends in Indiana. Our friend, B.J., started talking about how he restores antiques, and Justin told him about our radio. He agreed that the issue with the record player probably had to do with the arm, and B.J. gave Justin the contact information for a guy in Michigan who sells parts for antiques. While we were already told several years earlier that the part we needed didn't exist, Justin emailed the guy anyway.
The guy confirmed what we already knew, but did some research anyway. He ended up finding a universal cartridge replacement kit, and while he didn't know if it would work, we decided to give it a try for about $28. The part came in the mail, and Justin worked on installing it. The parts were very small and it was a tedious process, but he got everything put together. We stood in my office anxiously waiting as the radio warmed up so we could see if, after four years of having the radio, the turntable worked.
It didn't.
Justin started working on it again and realized he had re-installed the arm wrong. He fixed it.
It still didn't work.
I stood there watching in disappointment as I had hoped this last effort to fix my grandpa's radio would work. Justin made a small adjustment with the needle, and all of a sudden, the record started playing.
There may have been happy tears involved! We polished the wood again, and now the radio looks beautiful and is in complete working condition (and it sounds beautiful). Also, Justin replaced the bulb behind the radio display, so it has backlighting again. In the video, we're listening to one of my grandpa's Nat King Cole records that I found in his attic along with the radio.
My great grandmother and great grandfather got that wooden camel figurine in Israel during a trip they took around the world. It was another gift from him, and I have it displayed on top of the radio he gave me.


I found this whole stack of records (78s) in my grandpa's attic. They may skip a bit from sitting in his attic for 50 years, but for the most part, they sound wonderful. Somehow during the many years my grandpa owned the radio, the back came off and we weren't able to find it (although the screws that held the back on were still drilled into the sides of the radio). Justin and I went to Lowe's to get the material to make a custom back for the radio to protect it and keep dust out. We added some ventilation holes since the vacuum tubes get hot while the radio is on.
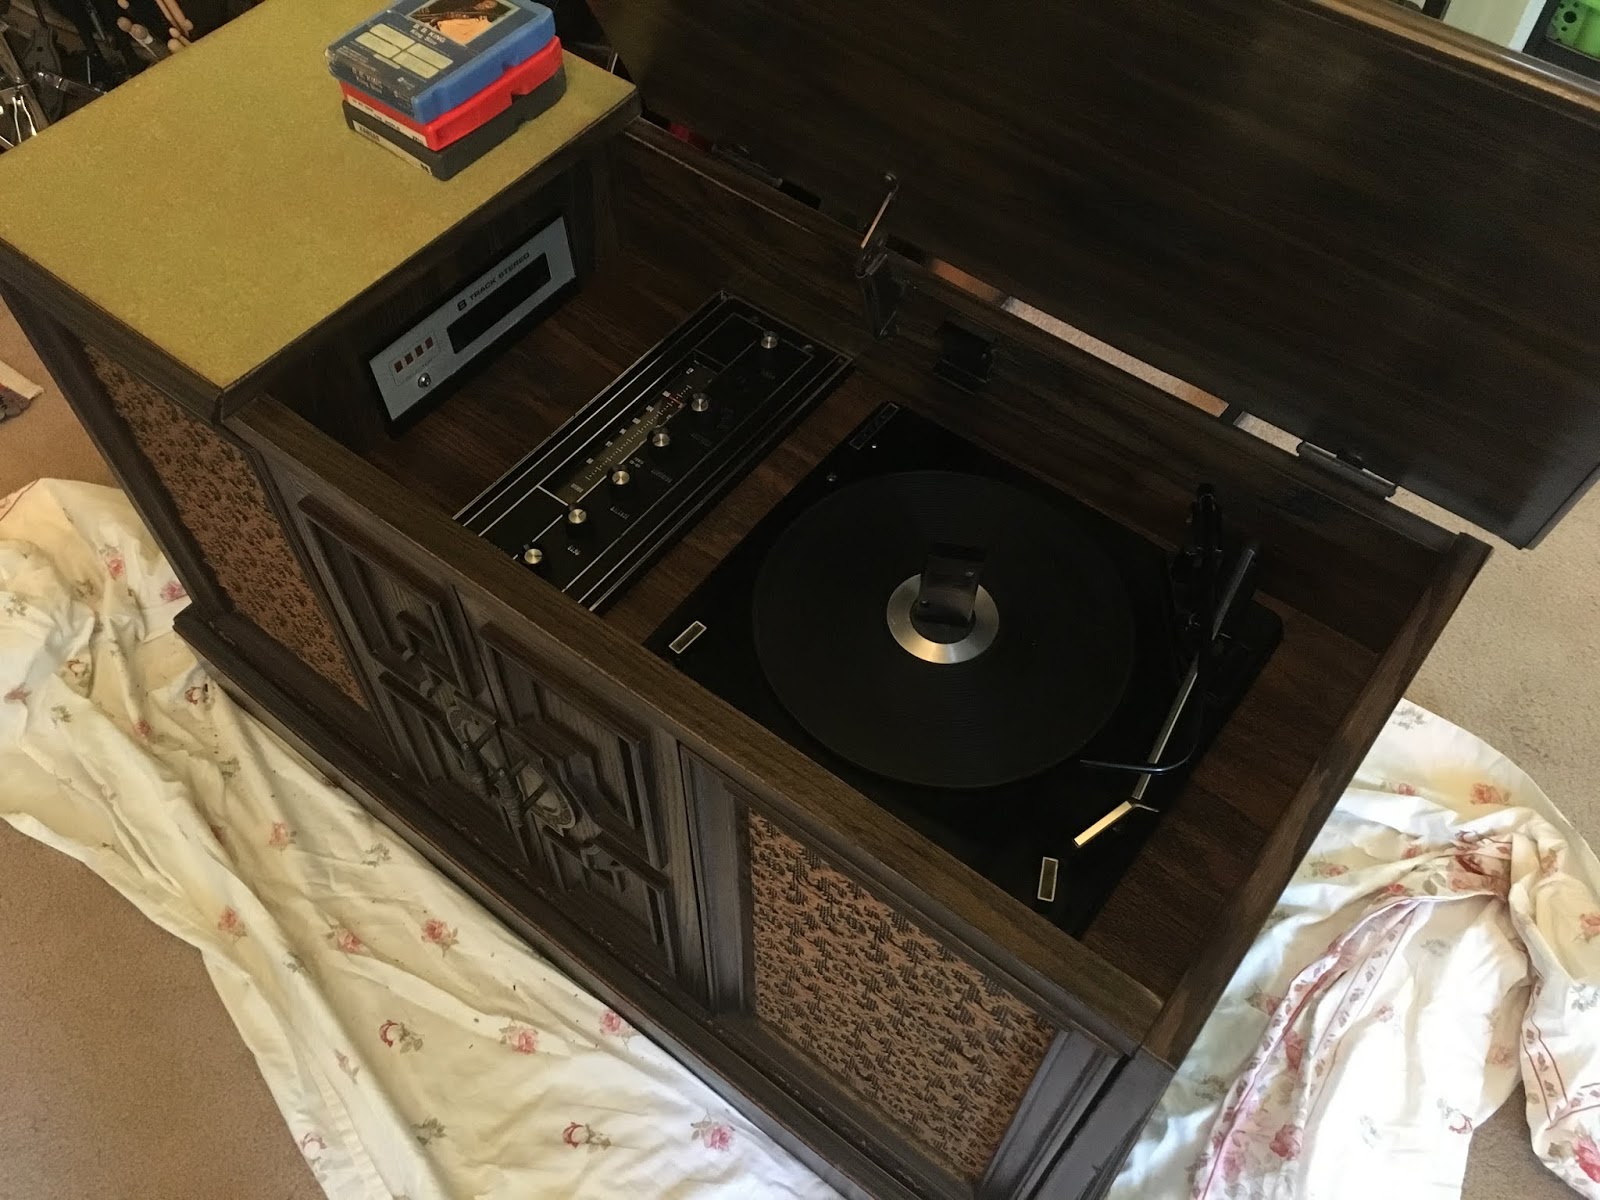
In addition to the Philco, Justin and I have also been working on a 1973 radio/record player/8-track console we found last summer for free (to see the original post on this console, follow this
link). It was also in rough shape because someone had left it sitting out in the rain. We brought it home, cleaned it up, and realized all of the electronics still worked (except for the turntable, which needed a new needle cartridge). Here are a couple photos from cleaning the console up last summer:

Before cleaning.
After cleaning.
It cleaned up well, but Justin and I decided to sell it since we didn't have room for it in the house. We posted it on several sites, and there was some interest, but no one bought it. We decided to fix it up a bit more (the exterior was still in bad shape from having been soaked during a rain storm). We sanded it and got it ready to paint. Justin found a replacement needle for it from the same guy who sent us the cartridge replacement kit for the Philco.
After sanding, adding wood filler, sealing the bottom, and gluing parts of the exterior back down, I decided to paint the piece black with a gray top (and I spray painted the hardware metallic black) to cover up the imperfections from the water damage (plus, I added a layer of clear coat at the end to protect the surface). Justin installed the new needle and the record player played beautifully. We decided to keep it this time.
That's Johnny Cash on the 8-track player (found at an antique shop in Dundee, MI) and AC/DC on the record player (found at a Goodwill store).
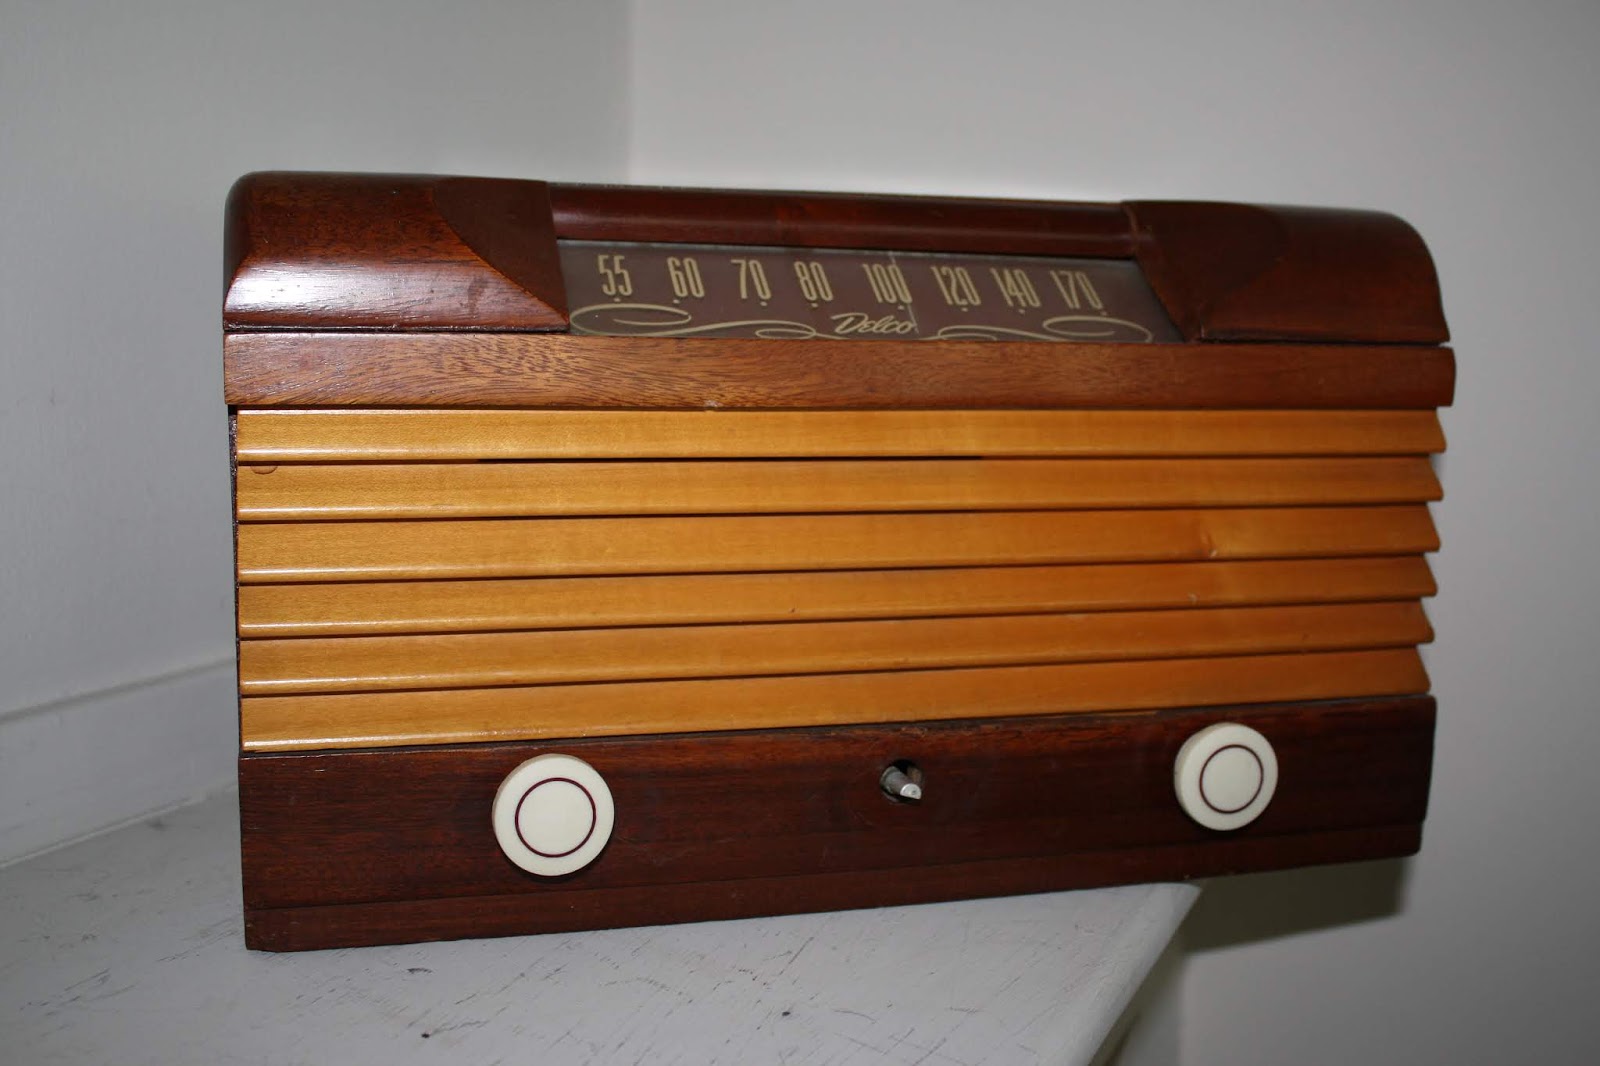
And while both of those projects took quite a bit of time and effort, we had one last thing to do - find a knob to replace the missing one on Justin's great grandmother's Delco radio (given to Justin by his dad). We found a knob from a different seller and now the radio looks complete (and it works perfectly).
Before.
After.
We finished working on these radios in a week's time! Like I said, it's been a busy summer. We are both so excited to have restored some beautiful pieces of history - one of which we found, one that belonged to my great grandparents, and one that belonged to Justin's great grandparents.